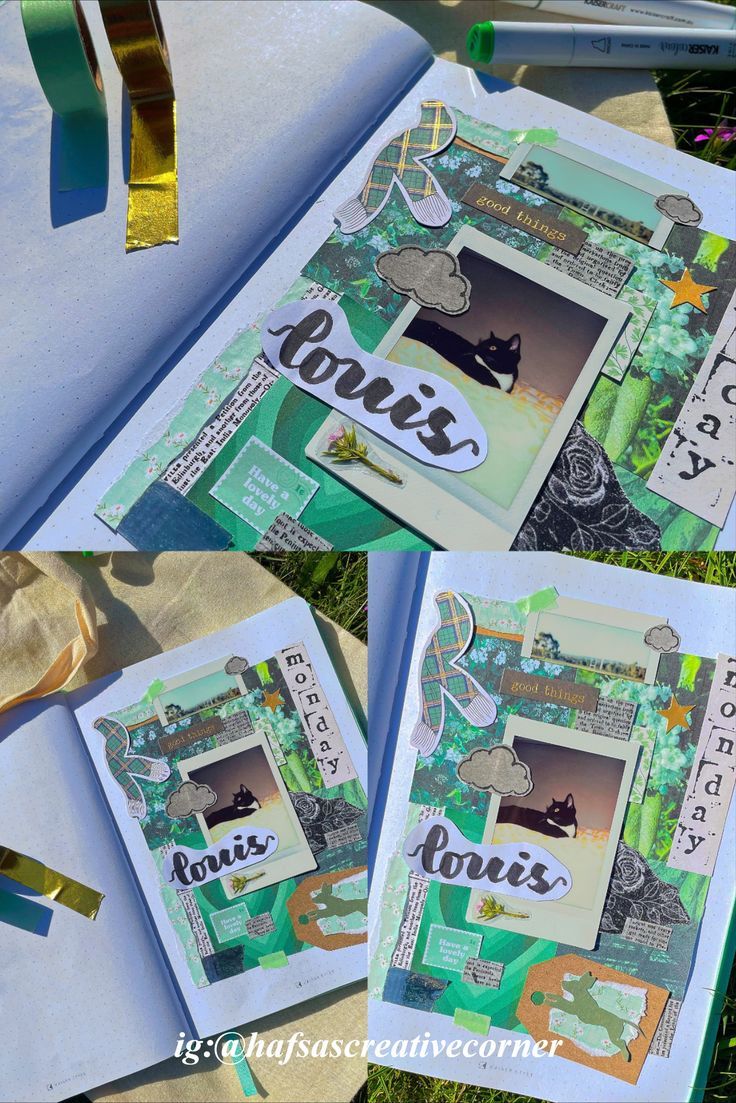
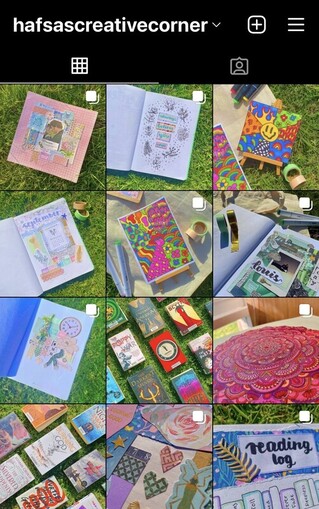
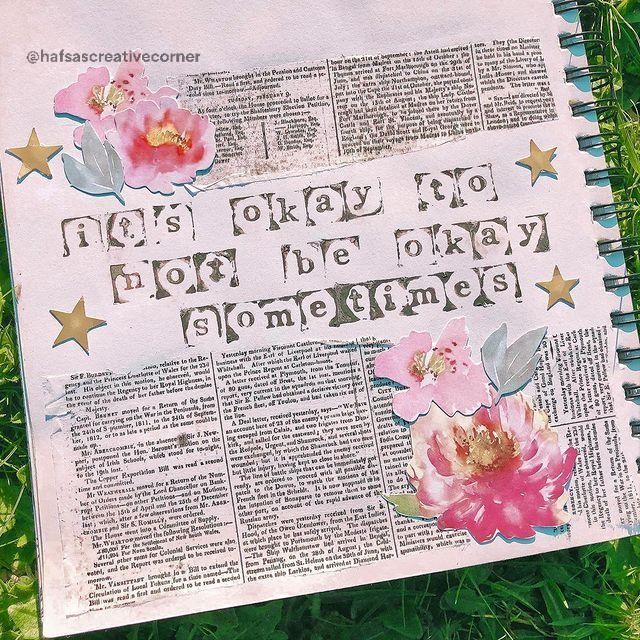
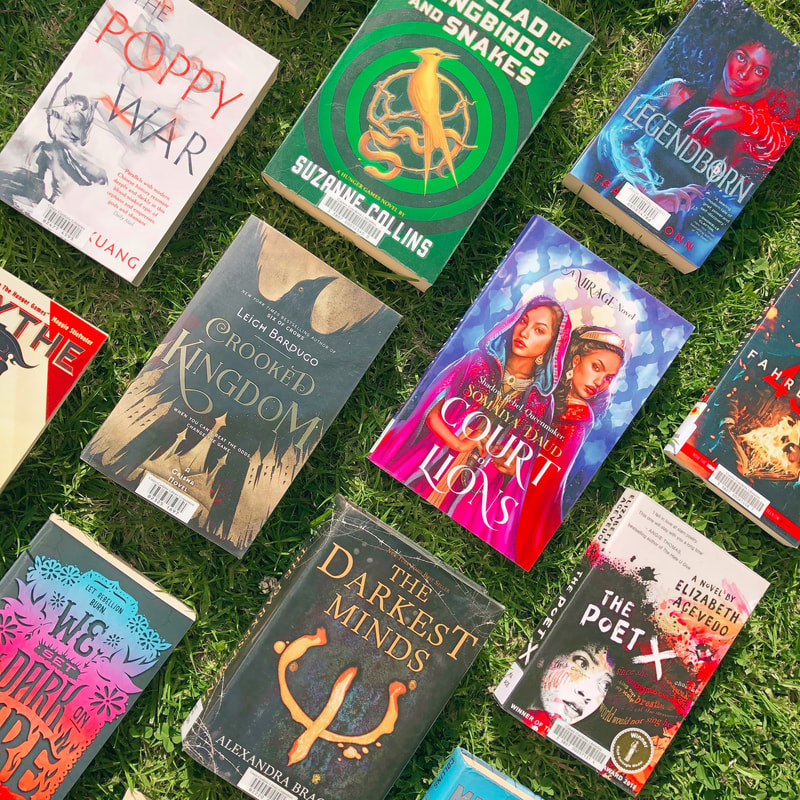
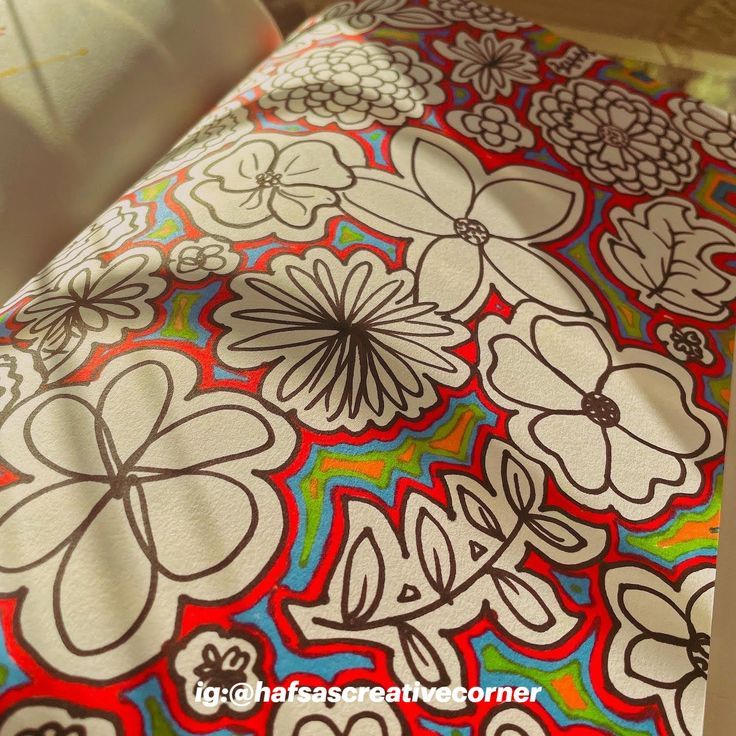
 I've been putting a lot of time into growing my Instagram account, @hafsascreativecorner, for the past few months. My recent posts are marked by bright, saturated colours and I take and edit my pictures on an iPhone. Here's how I edit them.
 The main app I use to edit my pictures is Polarr. For my earlier posts, I used the filter A3. With Polarr, you can get filters from other creators, which you can find on Instagram and Pinterest by searching "[keyword] Polarr filter/style." Once you download the code, click on Import filter in the app and upload the code to use the filter. I uploaded and used some "indie" filters for my recent posts. You can use masks to one edit or filter selected parts of the image. Since you can use unique filters from other creators, Polarr is great for making edits and aesthetic images too.
 Another app I use is Foodie, which is a camera and filter app. As the name suggests, it's made for food photography, but the bright filters are good for portraits, landscapes and other photos. I use it to brighten up images without changing the original look too much. There's no particular filter I use, just whatever suits the image. For some photos, I just use the in-built Apple editing tools by increasing the saturation, vibrance and brightness and slightly reducing the contrast.
Lastly, my best photos are taken when there is natural lighting, and these images don't require a lot of editing. You can get a similar natural light effect by adding a light flare on Picsart and reducing its opacity.
Let me know in the comments if this post helped you! Follow me on Twitter, Instagram and Pinterest.
0 Comments
|
Search
Archives
December 2023
Categories
All
|

 RSS Feed
